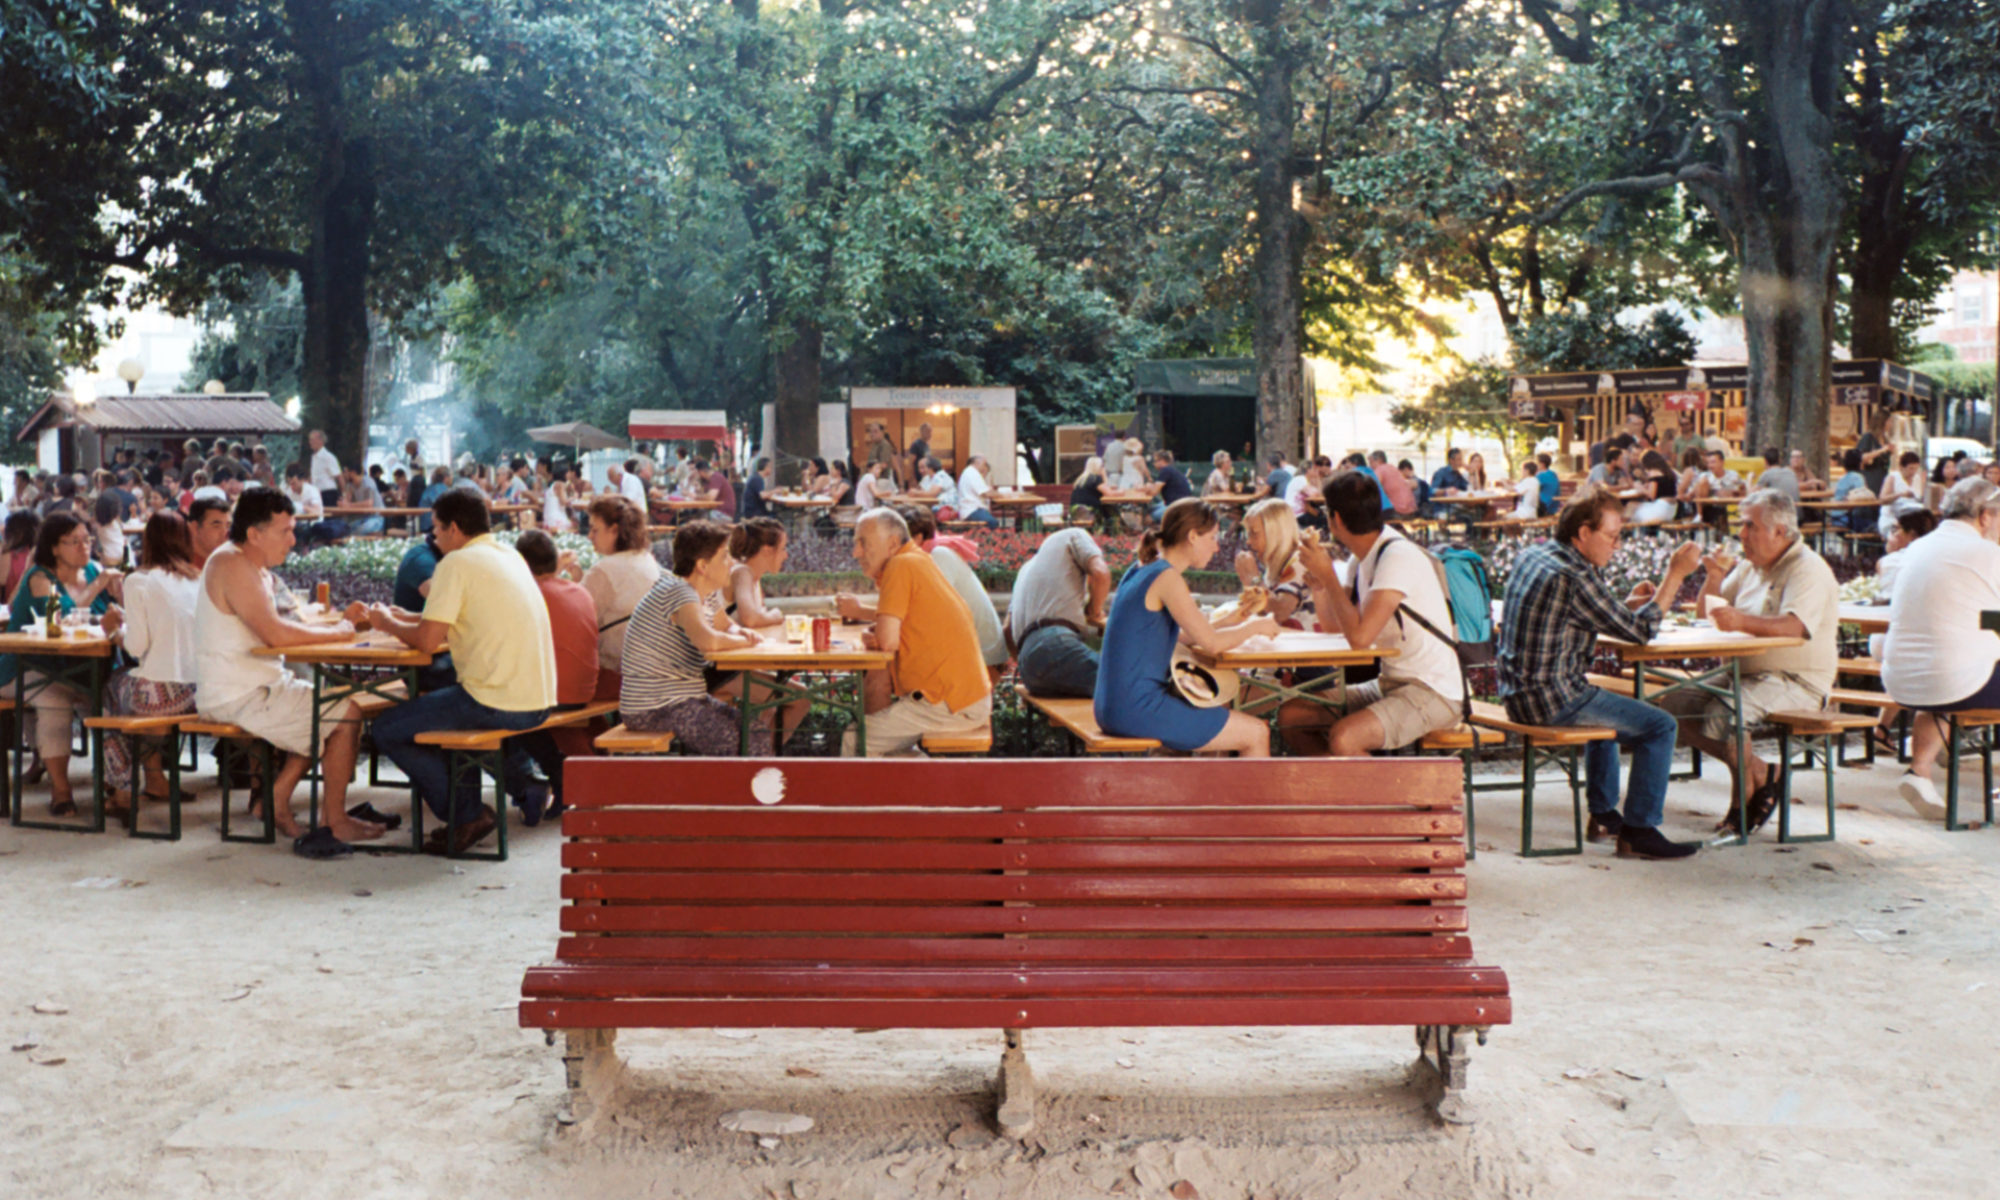
Yesterday I tried to scan some negatives with my DSLR.
These were developed by myself with a 1+50 Parodinal solution and home made fixer, still the same batch made at the MDOT class.
The technique I used for the scanning is quite simple: I used my iPad as a light source and placed a white plastic bag on top of it to hide the pixels. After that I used a cardboard tube to keep the film in place and guarantee that the camera was parallel to it.
The first problem I noticed were the gray tones as it’s just bland… I think that a bit more time in the fixing bath could solve this.
Another thing that’s clearly visible are those lines that seem to cross the whole photo. That’s because of the plastic bag as it is simply too damaged.
Finally the resolution… With this setting the maximum I could hope for was a 3000x3000px image but due to the minimum focusing distance I got even less.
Gear
- iPad
- A crumpled white bag
- Canon 100D
- Sigma 17-50 f/2.8 lens
- A piece of cardboard tubing


